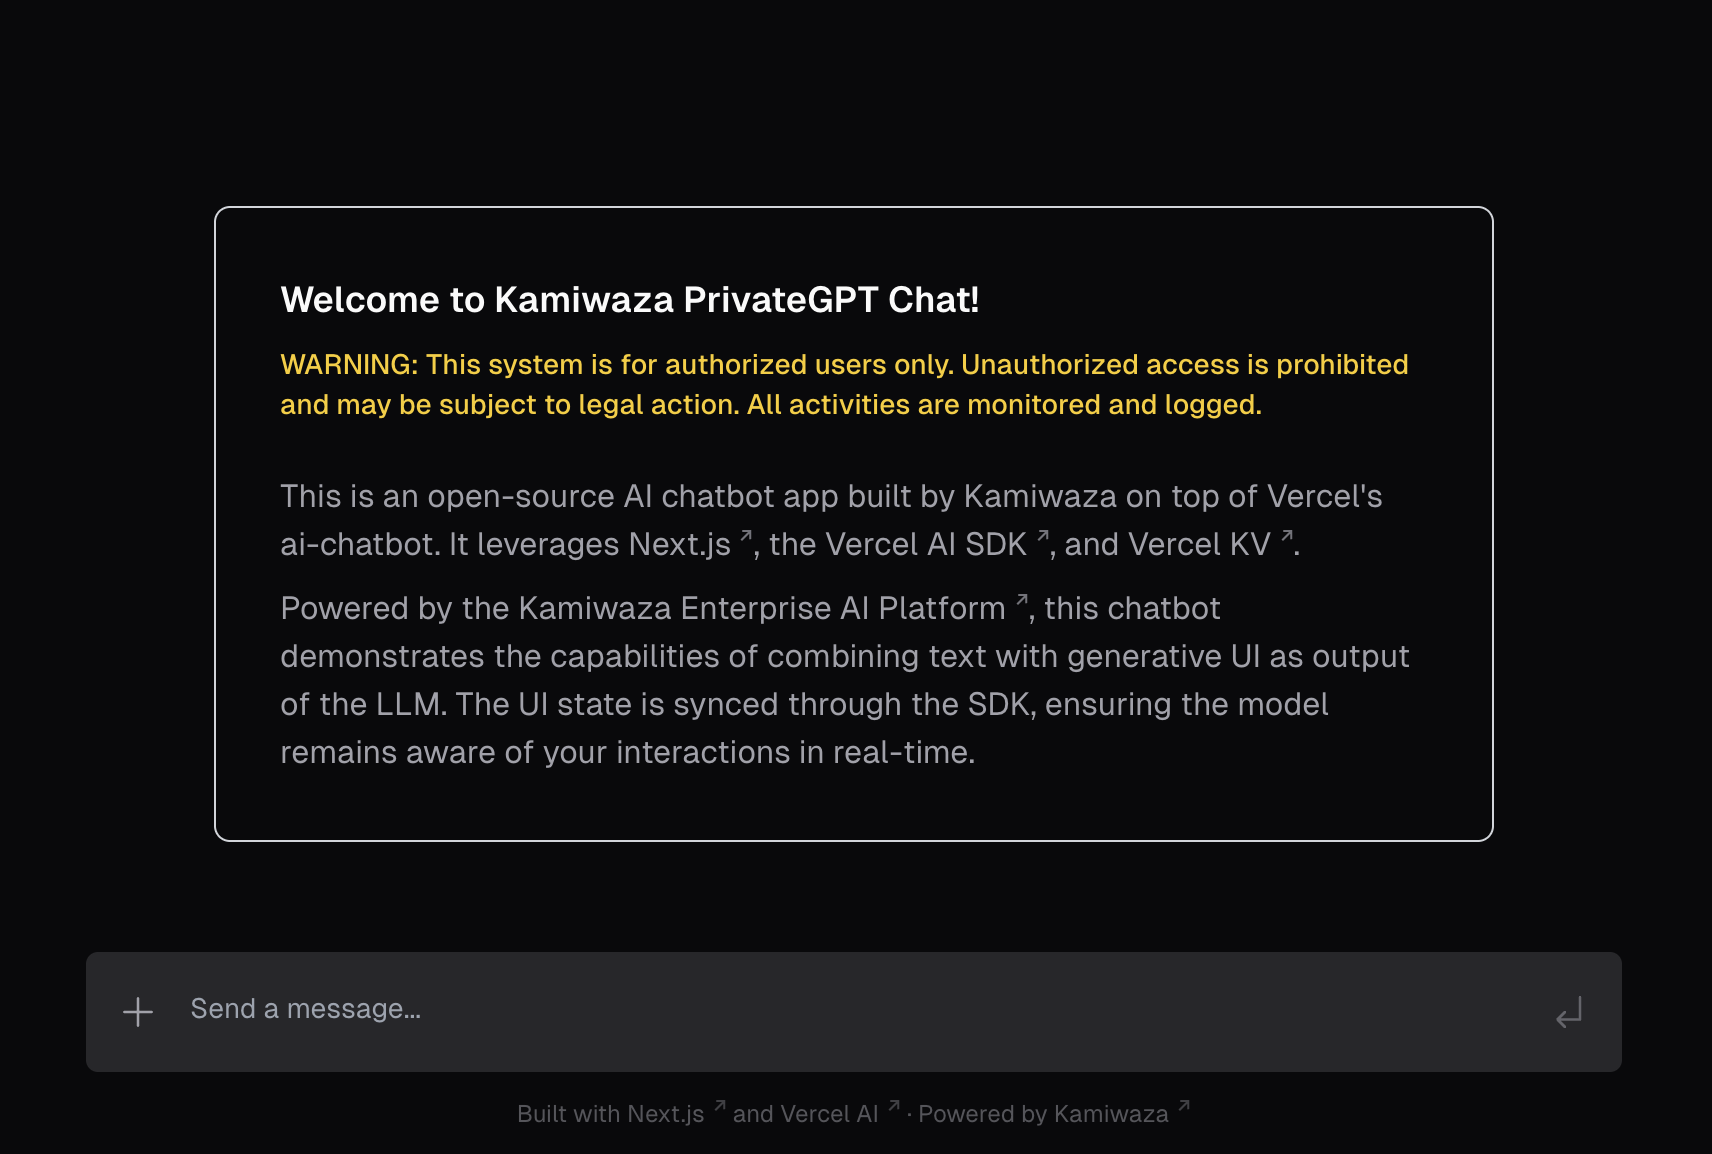
Using Kamiwaza Authentication and Model Inferencing with Any AI Application

The Kamiwaza Enterprise AI Platform provides a comprehensive suite of tools for building and deploying AI applications in enterprise environments. This guide focuses on two specific features of the platform: enterprise authentication and model inferencing. We'll demonstrate how to integrate these features into your application using our port of the Vercel AI Chatbot as an example. All of the code in this guide is available in the Kamiwaza Vercel AI Chatbot repository.
Enterprise Authentication Integration
Kamiwaza's authentication system provides centralized auth management that can be integrated into any application. Rather than building your own auth system, you can leverage Kamiwaza's secure token-based authentication and user management. The platform also supports advanced authentication features including role-based access control, group management, and organization-level permissioning - enabling enterprise-grade user management beyond basic authentication. While this guide focuses on core authentication, these additional features can be leveraged through the same centralized auth service.
How It Works
When integrating with Kamiwaza auth:
- Your application sends login requests to Kamiwaza's auth service
- Kamiwaza validates credentials and returns a JWT token in a secure HTTP-only cookie
- Your application verifies the token's validity with Kamiwaza for protected routes
Now, your application can use the token to access protected routes and resources.
Setting Up the Auth API Interface
// lib/kamiwazaApi.ts
const KAMIWAZA_API_URI = process.env.KAMIWAZA_API_URI;

export async function login(username: string, password: string): Promise<LoginResponse> {
  const response = await fetch(`${KAMIWAZA_API_URI}/api/auth/token`, {
    method: 'POST',
    headers: {
      'Content-Type': 'application/x-www-form-urlencoded',
    },
    body: new URLSearchParams({
      username,
      password,
    }),
  });

  if (!response.ok) {
    throw new Error('Login failed');
  }

  return response.json();
}

export async function verifyToken(token?: string): Promise<UserData | null> {
  const response = await fetch(`${KAMIWAZA_API_URI}/api/auth/verify-token`, {
    headers: { 'Cookie': `access_token=${token}` }
  });

  if (!response.ok) {
    return null;
  }

  return response.json();
}
Managing Authentication State
// lib/auth-context.tsx
export function AuthProvider({ children }: { children: ReactNode }) {
  const [user, setUser] = useState<UserData | null>(null);

  useEffect(() => {
    const checkAuth = async () => {
      try {
        const userData = await verifyToken();
        if (userData) {
          setUser(userData);
        }
      } catch (error) {
        setUser(null);
      }
    }
    checkAuth();
  }, []);

  return (
    <AuthContext.Provider value={{ user }}>
      {children}
    </AuthContext.Provider>
  );
}
This integration provides your application with:
- Secure token-based authentication
- Centralized user management
- Session handling via HTTP-only cookies
- Built-in token verification and refresh
The AuthProvider component wraps your application and manages the authentication state, while the Kamiwaza service handles all the security-critical operations like token generation and validation.
Model Integration
Models deployed through the Kamiwaza Platform can be easily integrated into any AI application. While models are deployed and managed through Kamiwaza's dashboard, accessing them in your application is straightforward - you just need to point your application to the deployed model's endpoint. This enables you to use Kamiwaza-hosted models alongside other LLM providers like OpenAI or Anthropic, giving you flexibility in model selection while maintaining a consistent integration pattern.
How It Works
- Models are deployed and managed through the Kamiwaza dashboard
- Each deployed model is accessible via a specific endpoint and port
- Your application can fetch available models using Kamiwaza's deployment API
- Once selected, models can be used through a familiar OpenAI-compatible interface
This approach allows you to switch between different models without changing application code, use multiple models in the same application, and maintain a consistent API interface regardless of the model provider.
Integrating Models in Practice
// app/kamiwaza/actions.ts
export async function getKamiwazaDeployments() {
  const response = await fetch(`${KAMIWAZA_API_URI}/api/serving/deployments`);
  if (!response.ok) {
    throw new Error('Failed to fetch deployments');
  }

  const data = await response.json();
  return data.filter((d: Deployment) => d.status === 'DEPLOYED')
    .map((d: Deployment) => ({
      ...d,
      instances: d.instances.map(instance => ({
        ...instance,
        host_name: instance.host_name || 'localhost'
      }))
    }));
}

// components/model-selector.tsx
export function ModelSelector({ onModelSelect }: ModelSelectorProps) {
  const [deployments, setDeployments] = useState<Deployment[]>([]);

  useEffect(() => {
    const fetchDeployments = async () => {
      const fetchedDeployments = await getKamiwazaDeployments();
      if (fetchedDeployments.length > 0) {
        const deployment = fetchedDeployments[0];
        const modelInfo = {
          baseUrl: `http://${deployment.instances[0].host_name}:${deployment.lb_port}/v1`,
          modelName: deployment.m_name
        };
        onModelSelect(modelInfo);
      }
    };

    fetchDeployments();
  }, []);
}
Using Models for Inference
// lib/chat/actions.tsx
const modelClient = createOpenAI({
  baseURL: getDockerizedUrl(selectedModel.baseUrl),
  apiKey: 'kamiwaza_model'
});

const result = await streamUI({
  model: modelClient(selectedModel.modelName),
  messages: messages,
  text: ({ content, done }) => {
    // Handle streaming response
  }
});
Example Implementation: Vercel AI Chatbot
We've provided a complete example implementation that demonstrates these concepts in action. You can deploy your own instance of our Kamiwaza-enabled chatbot using Docker:
- Clone the repository:
git clone https://github.com/kamiwaza-ai/ai-chatbot
cd ai-chatbot
- Configure environment variables:
cp .env.example .env
Update the .env file with your configuration:
# Kamiwaza Configuration
KAMIWAZA_API_URI=http://localhost:7777
NEXT_PUBLIC_KAMIWAZA_API_URI=http://localhost:7777

# Model Configuration (optional - for fixed model setup)
FIXED_MODEL_URI=http://localhost:8000/v1
FIXED_MODEL_NAME='Dracarys2-72B-Instruct-4bit'
ALLOW_ANONYMOUS=false

# Authentication (generate using: openssl rand -base64 32)
AUTH_SECRET=your-generated-secret
NEXTAUTH_SECRET=your-generated-secret
NEXTAUTH_URL=http://localhost:3003

# Redis Configuration
KV_URL=redis://localhost:6379
KV_REST_API_URL=None
KV_REST_API_TOKEN=dummy_token
KV_REST_API_READ_ONLY_TOKEN=dummy_readonly_token

# Required but can be set to noop for Kamiwaza
OPENAI_API_KEY=noop
- Build and start the application using Docker:
docker-compose build
docker-compose up -d
The application will be available at http://localhost:3003. You can now log in using your Kamiwaza credentials and start chatting with your deployed models. The Docker Compose configuration will automatically set up both the chatbot application and its required Redis database for storing chat history.
The complete example code demonstrates authentication integration, model selection, and chat functionality in a production-ready application context. If you're interested in learning more about how Kamiwaza can help you build your own AI applications, please contact us for a demo.